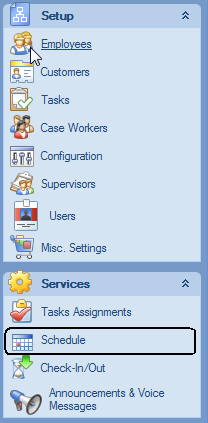
The "Schedule" screen is provided for one of the core features of ASR: viewing individual schedules per Customer and Employee and maintenance of visits in ASR. To open the screen select "Schedule" in the ASR Explorer Bar:

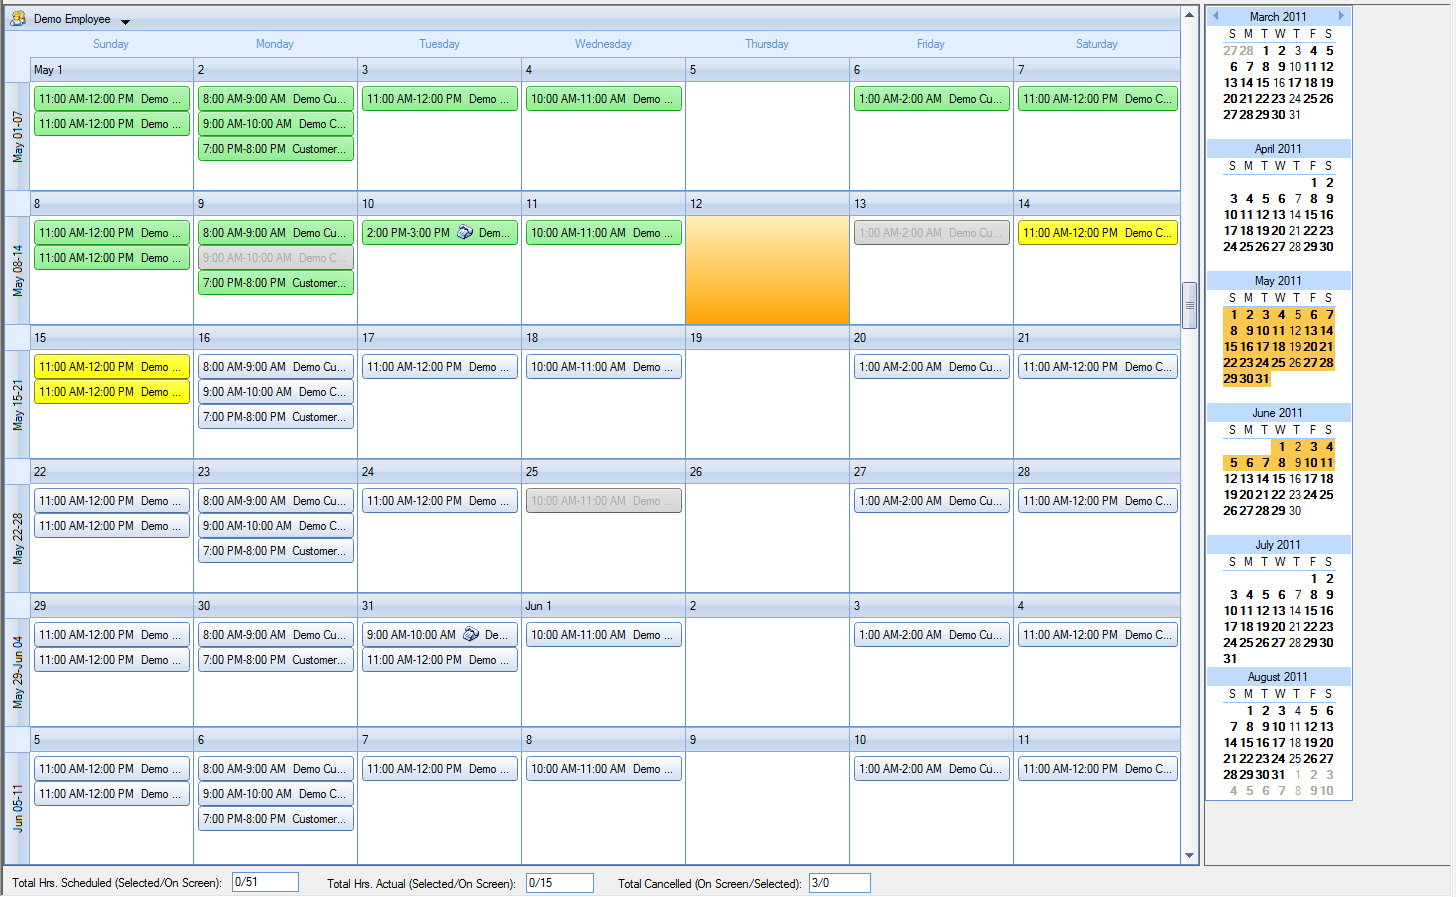
The Schedule screen:
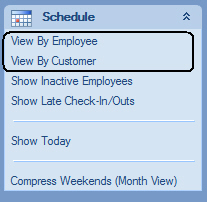
The Schedule screen shows all visits for a Customer or Employee during a period. The screen can show visits for a Customer or for an Employee. Select "View By Employee" or "View By Customer" on the "Schedule" section of the ASR Explorer Bar displayed when the screen is active:
Select Customer or Employee to show schedule for in the drop down of Employees/Customers:

The screen in the example above is setup to show schedule for employee "Demo Employee.
The period shown on the screen is controlled by the set of calendars in the right hand portion of the screen:

The dates shown in bold indicate that there are visits on that day. The dates highlighted indicate that the date period is shown in the main area of the screen.
Each cell in the schedule grid represents a day and each rectangle represents a visit with information about the visit. Moving the mouse over a visit will show a addition tool-tip information about the visit.
In the schedule screen the following actions can be performed:
Checking-in:
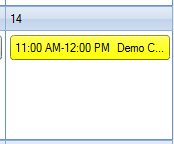
Click on a visit you want to record a check-in for and right mouse click to open the context menu. Select "Check-in..." or "Check-in As Scheduled". Checking-in "as scheduled" will immediately record a check-in using the scheduled check-in time per Care Plan. A visit that has a check-in recorded for it will appear with the yellow background:
Selecting "Check-in..." will open the check-in dialog:
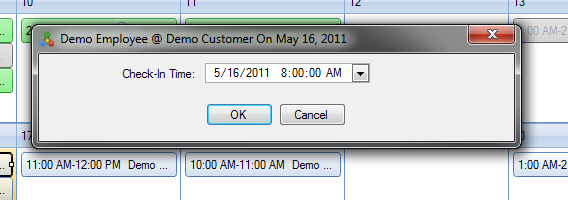
In this dialog user can specify actual check-in time that took place.
Checking-out:
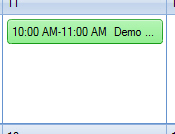
Click on a visit you want to record a check-out for and right mouse click to open the context menu. Select "Check-out..." or "Check-out As Scheduled". Checking-out "as scheduled" will immediately record a check-out using the scheduled check-out time per Care Plan. A visit that has a check-out recorded for it will appear with green background:
Selecting "Check-out..." from the context menu will open the "check-out" dialog:
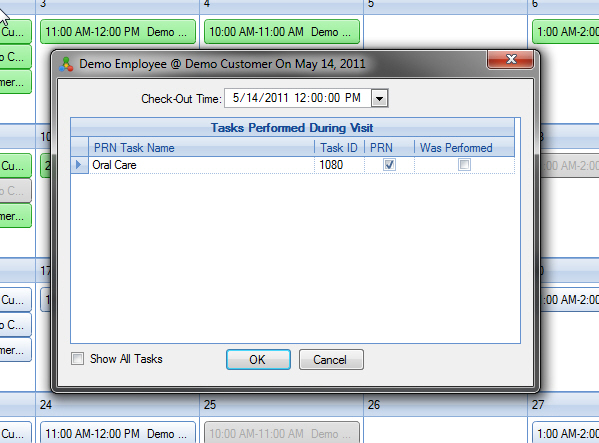
In this dialog user can specify actual check-out time that took place as well actual tasks that were performed during the visit.
Canceling a visit:
Note: canceling a visit is not the same as ending visits when the Care Plan is changing. Use the Tasks Assignments screen to change the care plan. Canceling visits in the Schedule screen is done only for one-off visit cancelation per, e.g., customer request.
To cancel a visit, select the visit you want to cancel and right-mouse click to open the context menu. Select "Cancel Visit..." from the menu. The Cancel Visit dialog will appear:
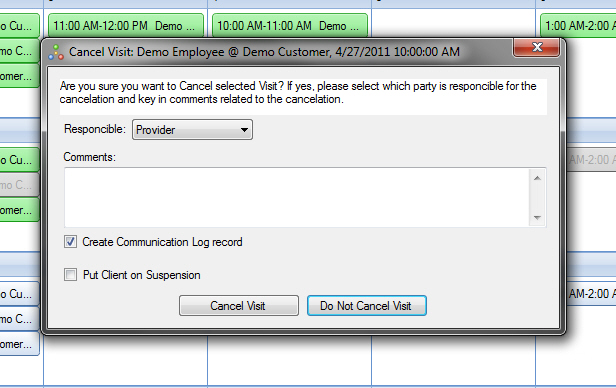
In the dialog user can select who's responsible for the cancelation of the visit, optionally create a Communication Log record for the client to record the cancelation event and other notes as well as optionally put the client on suspension if applicable. Once a visit is cancelled it will appear greyed-out on the screen:
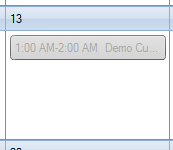
If the cancelation was done in error, it is possible to re-enable the cancelled visit by selecting "Re-Enable Visit" from the right-mouse-click Context Menu.
Rescheduling a visit:
Note: rescheduling a visit is not the same as changing visits schedule when the Care Plan is changing. Use the Tasks Assignments screen to change the care plan. Rescheduling visits in the Schedule screen is done only for one-off visit rescheduling per, e.g., customer request.
To reschedule a visit, select the visit you want to reschedule and right-mouse click to open the context menu. Select "Reschedule Visit..." from the menu. The Reschedule Visit dialog will appear:
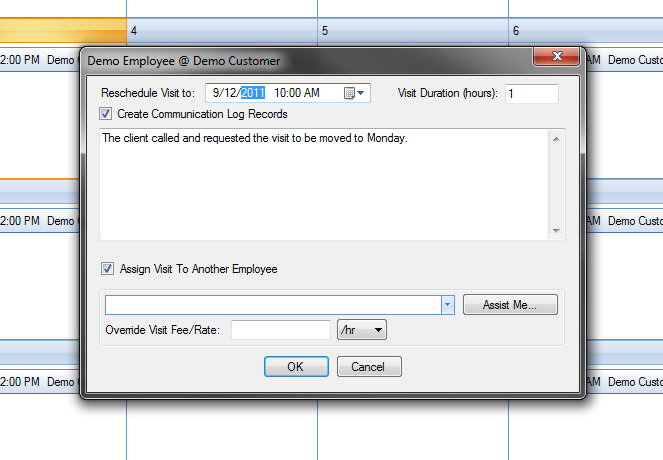
In the dialog users can set the new date/time of the visit, optionally create a Communication Log record for the client about the visit rescheduling event and other notes. Also in this dialog the visit can be assigned to a different employee other than the original Employee of the visit. Again, this will not create a record in the Tasks Assignments in ASR since this is not a change to the Care Plan but rather a change for a one-off visit. Alternatively, it is possible to drag-and-drop a visit in the Schedule screen to another day, which may be an easier way of recording the visit being rescheduled. In either case, rescheduled visit will appear with the telephone icon on it to visually indicate that the visit has been rescheduled:

To change duration of the visit being rescheduled, type in the new number of hours the visit should last in the "Visit Duration (hours)" text-box.
If the visit was rescheduled in error, it is possible to restore the original schedule by selecting "Restore original schedule" from the right-mouse-click Context Menu.